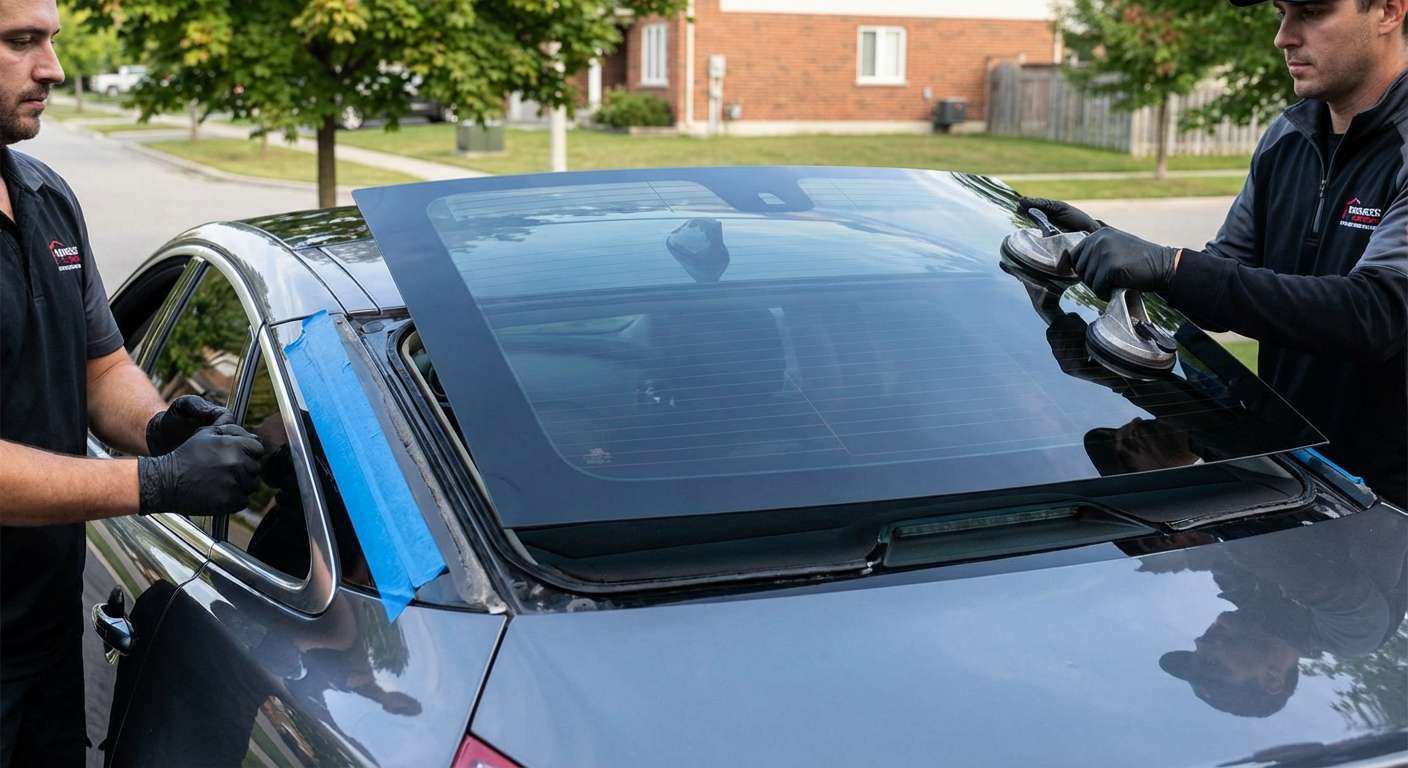
Rear Window Glass and Surrounding Architecture on the X351
The fastback profile of this car relies on a continuous sheet of stationary heated tempered glass that bridges the aluminum roof stamping and the rear decklid. Whether your car is the standard wheelbase (SWB) or the extended long-wheelbase (LWB) Portfolio or Supercharged model, the rear window dimensions remain identical across all 2011–2019 builds because Jaguar lengthened the cabin exclusively through the rear passenger door shells. The NAGS replacement part numbers for this stationary rear glass fall under the DB11985 and DB11986 series, accounting for factory solar-control tint variants.
Visually, the glass extends right up against the distinctive gloss black exterior C-pillar applique panels that create Ian Callum's signature "floating roof" look. These exterior black trims sit directly flush against the outer perimeter of the glass. Because these panels are prone to brittle plastic clips and surface micro-marring, they demand extreme care around their edges. Inside, the bottom edge sits over the extensive rear parcel shelf, which houses the center high-mounted stop lamp (third brake light) and the mechanism for the motorized power rear sunshade.
Integrated Antenna Grids and Cabin Electronics
The rear glass does far more than keep weather out; it serves as the radio and data reception hub for the vehicle. Etched into the glass alongside the horizontal electric defroster heating lines is an intricate in-glass diversity antenna array. This grid handles standard AM/FM frequencies, digital audio broadcast (DAB) reception, and communicates directly with the vehicle's keyless entry receiver modules mounted in the C-pillars.
When sourcing glass for this saloon, I supply aftermarket glass manufactured by established glassmakers like Pilkington, FYG, PGW, or XYG, ensuring the embedded heating elements and embedded antenna terminal tabs match the factory resistance specs. If those internal solder joints or connection busbars are compromised, your key fob range drops dramatically and the rear defogger grid lines fail to clear morning condensation evenly.
Interior Sunshade and Aluminum Monocoque Clearances
Replacing the back glass requires navigating tightly packed interior hardware. The power rear roller blind sits directly underneath the glass rake, running along tracks integrated into the parcel shelf. If the glass adhesive line is placed even slightly off-spec, the blind will rub against the lower glass ceramic frit or hang up entirely during operation.
Furthermore, because the entire monocoque structure of the car is riveted and bonded aluminum, non-conductive bonding materials and isolated contact points are mandatory to prevent long-term galvanic corrosion between dissimilar materials at the rear window flange. The antenna booster modules located high behind the interior C-pillar trim panels must also remain dry and cleanly connected to their dedicated ground studs.
Post-Installation Inspection Checklist
- Inspect the exterior gloss black C-pillar applique panels to verify they sit completely flush against the sides of the rear window without uneven gaps or snapped retainers.
- Test the electric rear window defroster on a cold morning to verify all horizontal grid lines heat uniformly without broken trace segments.
- Deploy and retract the motorized rear parcel shelf sunshade to make sure the fabric screen travels smoothly without catching against the glass.
- Check AM, FM, and digital radio reception across multiple stations to confirm the antenna busbar terminals are properly grounded to the C-pillar amplifiers.
- Test your Smart Key keyless access and locking range from behind the vehicle to ensure the integrated antenna is receiving the key fob signal.
- Verify that the center high-mounted stop lamp illuminates clearly through the lower glass perimeter without interior trim rattling against the glass surface.


