Matching the S-Type Sunroof Glass to Your VIN Split
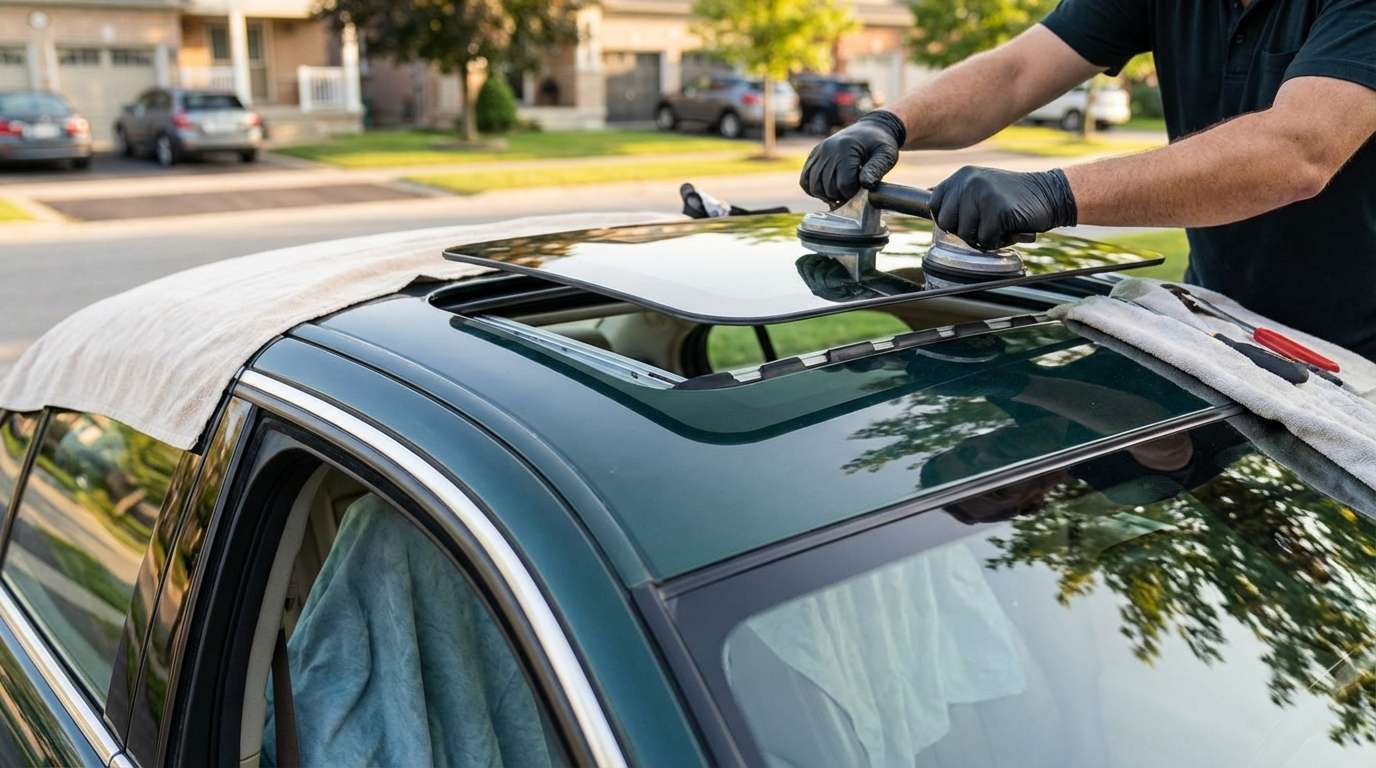
Replacing the moonroof glass panel on this saloon requires precise attention to the production split, because Jaguar modified the roof cassette mounting points and edge sealing across three distinct production runs. Early cars running from VIN L00001 up to M45254 rely on glass assemblies matching dealer reference XR850342. The mid-cycle update altered the carrier geometry for VIN M45255 through N54442 under part number XR854803, while late models from VIN N54443 through the 2008 run use panel architecture corresponding to C2C31836, a design shared with the aluminum X350 XJ saloon.
Before any replacement panel nears the roof opening, I examine the bonded steel-and-composite support frame underneath the tempered glass. The S-Type uses a pre-encapsulated perimeter seal molded directly to this frame. If this outer rubber bead shows irregular thickness, waviness, or tears from manufacturing, it will fail to compress evenly against the stamped steel roof opening. Unlike the windshield, this dark solar privacy glass contains no embedded antenna grids or acoustic films, nor does it house the rain and light sensor, which sits directly on the front windshield glass ahead of the rearview mirror.
Mechanical Alignment, Track Linkages, and Water Channels
Because these cars are prone to brittle plastic drive shoes and guide feet inside the track mechanism, I verify that the mechanism arms are fully synchronized before securing the glass. The glass panel fastens directly to the tilt-and-slide lifter brackets using four Torx fasteners hidden beneath the flexible rubber concertina bellows on each side. When an appointment is set, I typically arrive at your location roughly an hour after booking to inspect the roof mechanism and set the replacement glass without delay.
Correct panel height is vital to stop cabin buffeting at highway speeds. I set the leading edge of the glass roughly one millimeter lower than the front roof sheet metal to deflect air over the seam, while setting the trailing edge flush or slightly proud of the rear roof plane. Setting the height incorrectly allows turbulent air to bypass the outer seal, overpowering the internal drip trough. While the panel is loose, I confirm that the front pop-up wind deflector springs up freely and that the four water drain tubes running down the A-pillars and C-pillars are clear of silt, preventing overflow that notoriously damages the rear electronic control modules in the luggage compartment.
Post-Replacement Inspection Checklist
Once the replacement glass is seated and secured, check these specific operational and cosmetic details before driving:
- Perimeter Seal Compression: Inspect the outer encapsulated rubber ring against the painted roof skin to ensure it sits uniform along all four edges without pinching or gaps.
- Flush Alignment: Run a hand across the front edge to ensure it sits minutely below the roof skin, and confirm the rear edge sits level with the surrounding metal to eliminate wind whistle.
- Concertina Bellows Seating: Look from inside the cabin to verify that the flexible accordion-style rubber side bellows are firmly snapped onto their tracks, covering the T20/T25 bracket screws.
- Sunshade Travel: Slide the interior fabric sunshade back and forth using the recessed pull handle; it must glide smoothly without binding against the lower frame of the new glass.
- Full Tilt and Slide Operation: Operate the overhead console switch through the tilt position, full slide retract, and closed state to verify the drive cables move smoothly without clicking or tracking diagonally.


