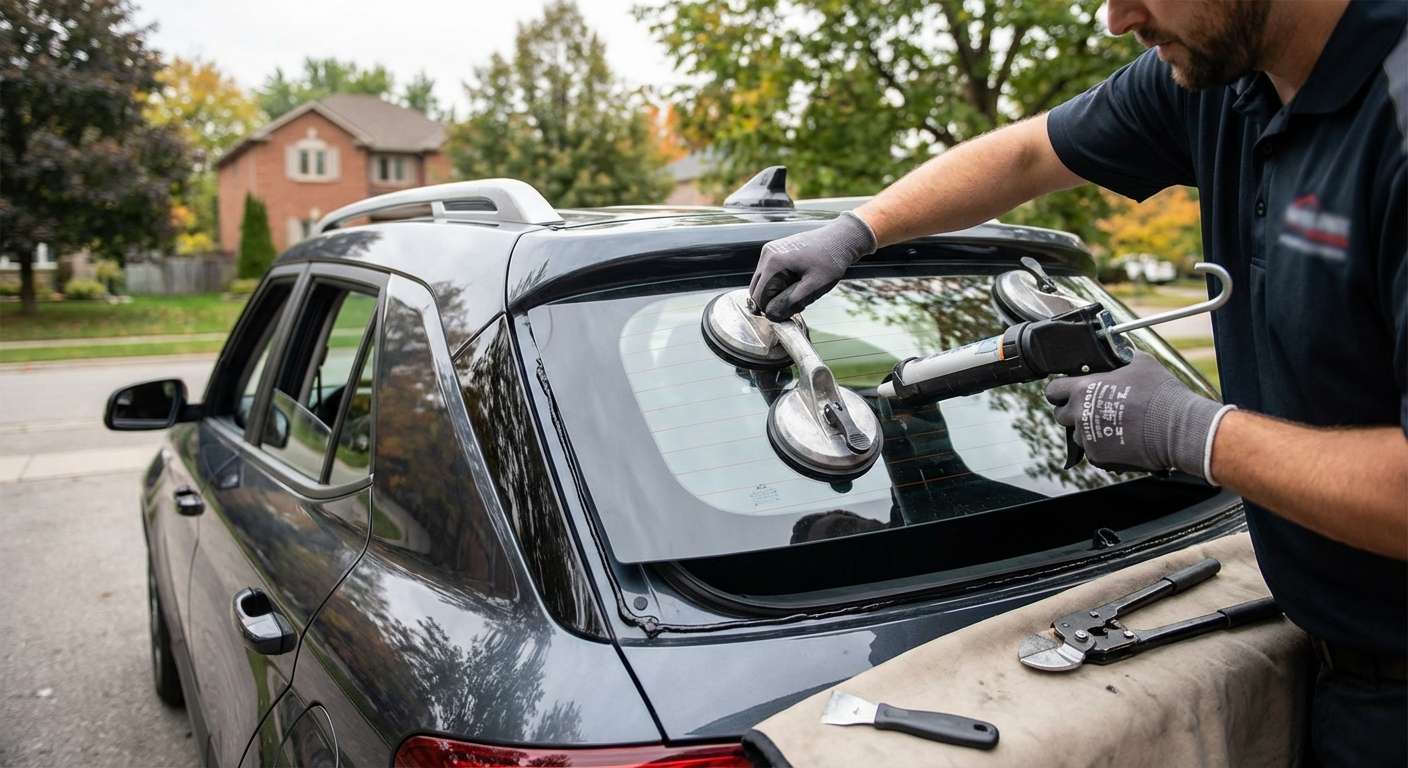
Liftgate Backlite Features on the Hyundai Venue
When the rear window breaks on your Venue, you are dealing with a stationary piece of tempered safety glass that is direct-glazed to the hatchback frame. Hyundai engineers designed this rear glass with a specific cutout at the bottom edge to allow the rear wiper pivot shaft to pass through cleanly to the wiper motor inside the liftgate. The top edge tucks directly beneath the integrated roof spoiler garnish and abuts the high-mount center stop lamp, making proper alignment essential to prevent water ponding against the upper edge dam.
Every North American trim—from the base SE up through the SEL, Denim, and Limited—features an integrated electric defroster grid powered through soldered interior busbar terminals. However, the tint level changes depending on your trim. While the base SE uses a standard light green solar glass, the SEL and Limited models come standard with factory dark privacy glass. Dealer catalogues cross-reference this rear liftgate glass under Hyundai part numbers 87110-K2010 and 87110-AB010, matching industry standard NAGS benchmark DB13098.
Replacing Venue Rear Glass: Wiring, Trim, and Fitment
A shattered tailgate window on this crossover requires stripping the inner tailgate trim panel to clean out debris and access the electrical connections. Because the Venue has a vertical cargo layout, the exposed defroster solder tabs on the inner surface of the glass can easily be snagged by cargo or luggage if they are not seated correctly. Unlike the windshield, there are no front-facing safety cameras or rain sensors attached to this glass, nor is there an AM/FM antenna printed on the defroster lines; radio reception on the Venue is handled entirely by the roof-mounted mast or shark-fin antenna.
Whenever I replace this rear glass, I supply and fit high-grade aftermarket glass manufactured by trusted global brands like FYG, PGW, XYG, or Pilkington rather than dealership-branded units. These panels replicate the exact black ceramic frit band border of the original glass, shielding the structural polyurethane adhesive underneath from ultraviolet degradation and hiding the wiring harness for the third brake light and wiper motor.
Post-Installation Inspection Checklist for Your Venue
Once your new back glass is installed and cured, walk around the tailgate of your Venue to confirm all surrounding components were restored properly:
- Spoiler alignment: Look at the gap between the upper ceramic edge of the glass and the plastic roof spoiler garnish to confirm the panel sits completely flush without pinching the third brake light.
- Wiper shaft seal: Check the rubber grommet around the lower glass cutout where the rear wiper spindle protrudes; it must be fully seated against the glass to keep water from leaking into the tailgate latch mechanism.
- Defroster operation: Turn on the rear defogger switch on the climate control panel and feel for even heat dissipation across the grid lines within five to ten minutes.
- Washer jet aim: Run the rear wiper washer to ensure the spray nozzle in the upper tailgate garnish still targets the center of the wipe path rather than overshooting the car.
- Hatch interior panel: Ensure the inner plastic liftgate cover has been re-clipped securely, with no rattles when the hatch is pulled down by the interior grab handle.


