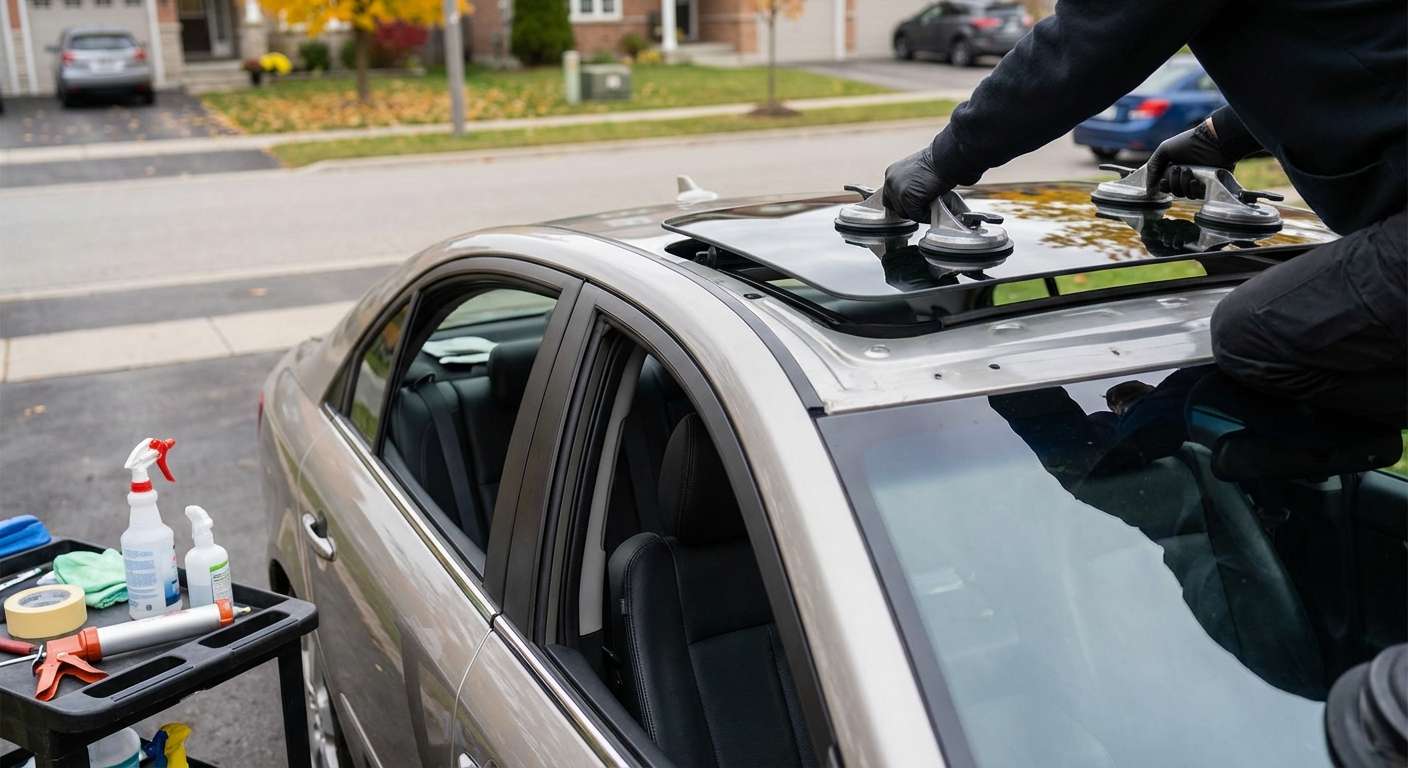
What to Inspect on the Sonata Sunroof Panel Before Unbolting
Every time I handle the power moonroof on this car, I start by isolating whether the issue is shattered glass or a mechanical bind inside the roof cassette. The single-pane glass panel secures to the tilt-and-slide carriage arms using four Torx fasteners—two per side—hidden right behind flexible accordion-style side bellows. Before removing those screws, I examine the exterior encapsulated edge seal. The factory perimeter weatherstrip (Hyundai reference 81613-3K000) hardens and shrinks over years of sun exposure on these cars, pulling away at the curved rear corners and causing intense wind roar at highway speeds.
I also inspect the underside of the glass for any contact marks against the manual interior shade panel, which carries part numbers such as 81666-3K000-QD for beige cabins or 81666-3K000-QS for gray interiors. If a previous track failure jammed the sliding sunshade, the rear brackets of the shade can score the solar coating on the underside of the replacement glass during the initial slide cycle.
| Component | OEM Reference | Function and Failure Point |
|---|---|---|
| Glass Assembly | 81610-3K000 | Tempered solar dark-tint panel; inspects for perimeter moulding separation |
| Perimeter Seal | 81613-3K000 | Direct glass-mounted gasket; shrinks, splits, and leaks air at high speed |
| Lift Guide Kits | 81647-1F000 / 81648-1F000 | Left and right plastic track shoes; crack and cause panel to lift crookedly |
| Drive Motor | 0178101-AC / 0178101-AL | Forward-mounted drive unit; loses sync when tracks bind |
Verifying Hardware and Drainage on the NF Chassis
When swapping this glass on GLS, SE, or Limited trims, I supply aftermarket glass manufactured by trusted global brands like PGW, FYG, Pilkington, or XYG rather than purchasing through the dealership network. Because the 2006 to 2010 NF generation uses a straightforward dark-tinted tempered panel devoid of antennas, heating elements, or rain sensor brackets, quality aftermarket glass matches the curvature and mounting hole spacing exactly.
Before fastening the new glass into the guide brackets, I test the mechanical track pieces. The plastic lift arms that slide inside the guide rails (serviced under kits 81647-1F000 and 81648-1F000) become brittle. If one side snaps, the electric motor (0178101-AC) will force the glass sideways, binding it against the roof aperture. I check that both shoes move smoothly in their aluminum tracks before setting the panel in place.
Water intrusion on this vehicle is rarely caused by a failure of the glass panel itself, but rather by the drainage system underneath it:
- The perimeter water channel empties into four separate corner exit points.
- The front A-pillar drain tubes tend to collect pine needles and silt, backing water up until it overflows the cassette lip and saturates the overhead console, cabin dome lights, or front floor carpets.
- I test all four drain corners with water while the glass is removed, verifying rapid runoff before the new glass covers the tray.
Post-Installation Flushness and Seating Checks
Once the four Torx screws are loosely threaded into the lift brackets, the height of the glass must be manually leveled against the exterior roof skin before final torque is applied. The front edge of the glass should sit roughly one millimeter below the leading roof sheet metal to deflect air over the gap, while the rear edge must sit flush to one millimeter above the trailing roof skin to eliminate buffeting.
After tightening the screws and snapping the side bellows back over the brackets, I run the motor through a full tilt and slide sequence to verify the anti-pinch stops. If the battery was disconnected during service or if the carriage met resistance, the motor module loses its zero-point reference. I reset this by holding the tilt-up switch forward until the panel tilts fully, pulses, and settles into its true mechanical seal position.


