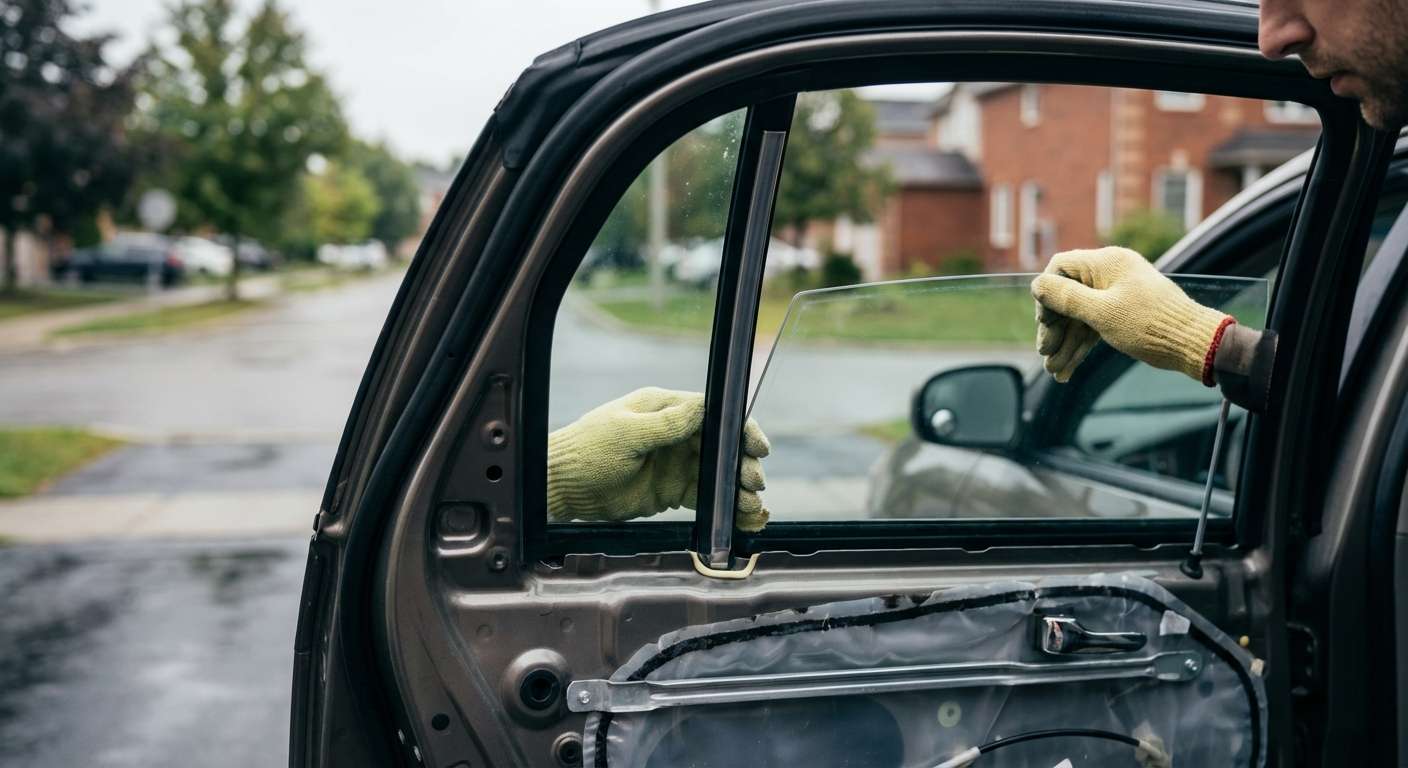
Reviving the W-Body Classic: Expert Vent Glass Replacement for Your 2000-2005 Chevrolet Impala
The 2000-2005 Chevrolet Impala marked a highly anticipated revival of a legendary GM nameplate, built on the robust front-wheel-drive W-body platform. Known for its spacious interior, reliable powertrain, and iconic early-2000s circular taillights, this generation of the Impala remains a beloved daily driver and a testament to enduring automotive engineering. However, when the small, strategically placed rear vent glass shatters—often the unfortunate result of an opportunistic break-in or flying road debris—the quiet comfort of your cabin is immediately compromised. A broken vent glass exposes your Impala’s interior to the harsh Ontario elements, invites severe wind noise, and creates a significant security vulnerability.
At AlexWindshield, we understand the specific architectural nuances of the 8th generation Chevrolet Impala. The rear door vent glass (often referred to as the quarter glass on the door) is not just a cosmetic feature; it plays a vital role in the structural sealing of the rear passenger cabin and supports the guide channels for your primary roll-down windows. Restoring this specific piece of auto glass requires precision, specialized tools, and an intimate knowledge of early 2000s GM door assemblies.
Why the Vent Glass Matters on Your 2000-2005 Impala
Unlike standard roll-down door glass, the vent glass on the 2000-2005 Chevrolet Impala is a stationary unit, separated from the main window by a vertical metal division bar. Because it is highly visible and relatively small, thieves often target this specific window to reach in and unlock the rear doors, mistakenly believing it is the cheapest glass to replace. In reality, replacing this stationary glass is a highly technical procedure that requires dismantling the door structure and working with industrial-grade adhesives and weather seals. Driving with a compromised vent glass can lead to:
- Water intrusion: Rain and snow can bypass the weatherstripping, leading to rusted door internals and electrical failures in your power window regulators.
- Severe interior damage: Unfiltered UV rays and moisture can rapidly degrade the Impala’s classic cloth or leather upholstery.
- Safety risks: Broken glass shards hidden within the door cavity can become dangerous projectiles or cause the main window mechanism to jam.
Our Master Technician's Step-by-Step Vent Glass Replacement Process
As a Master Technician at AlexWindshield, I ensure that every Chevrolet Impala vent glass replacement strictly adheres to factory-grade safety and quality standards. Here is our comprehensive, A-to-Z technical process for restoring your 2000-2005 Impala.
Step 1: Interior Protection and Safety Preparation
Before any tools are lifted, we prioritize the protection of your vehicle's interior. We drape heavy-duty, scratch-resistant protective covers over the rear seats, floorboards, and exterior door paint. We wear advanced personal protective equipment (PPE), including cut-resistant Kevlar gloves and safety glasses, to safely navigate the hazardous shards of tempered glass that typically litter the cabin after a vent glass blowout.
Step 2: Door Panel Removal and Component Disassembly
To access the mounting points of the vent glass, the interior door panel must be completely removed. On the 2000-2005 Impala, this involves carefully prying off the door handle bezel and the power window switch panel. We meticulously remove the hidden Torx screws and utilize specialized nylon pry tools to disengage the plastic retaining clips around the perimeter of the door card without breaking them. Once the panel is lifted away, we carefully peel back the factory vapor barrier, taking great care not to tear the delicate plastic, which is essential for keeping moisture out of the cabin.
Step 3: Complete Broken Glass Extraction and Vacuuming
When a vent glass shatters, thousands of tiny tempered glass cubes fall directly into the inner cavity of the door shell. Vacuuming all broken glass shards from the vehicle's interior and door cavity is a mandatory, non-negotiable step in our process. Using a high-powered, narrow-nozzle shop vacuum, we extract every single piece of glass from the bottom of the door shell, the window run channels, and the surrounding carpet. Failing to do this results in an infuriating rattling noise every time you close the door or drive over a bump, and leftover glass can easily shred the delicate cables of your power window regulator.
Step 4: Removal of the Old Vent Glass and Division Bar
With the door internals exposed, we lower the main window glass to gain clearance. We then unbolt the vertical division bar (the guide channel that separates the roll-down glass from the vent glass). This usually involves removing a securing bolt at the top of the door frame and another hidden at the bottom of the door shell. With the division bar loosened, we carefully extract the remaining frame and rubber gasket of the shattered vent glass from the pinch weld.
Step 5: Surface Cleaning and Primer Application
Preparation is the secret to a flawless auto glass installation. We thoroughly clean the metal pinch weld and the edges of the new replacement vent glass using an alcohol-based, lint-free glass cleaner to remove any dirt, old butyl, or factory oils. Once the surface is immaculate, we proceed with the primer application. A high-grade black glass primer is applied to the mating surface of the door frame and the bonding edge of the new glass. This primer promotes maximum molecular adhesion and prevents UV rays from degrading the urethane over time, ensuring a waterproof, factory-tight seal.
Step 6: High-Quality Adhesive Application and Glass Installation
After the primer has appropriately flashed (dried), we apply a precise, uniform bead of high-quality adhesive—specifically, advanced, fast-curing automotive polyurethane—along the mounting channel. The new, OEM-quality vent glass is then meticulously seated into the frame. We apply firm, even pressure to ensure the glass sinks perfectly into the urethane bead, eliminating any microscopic air gaps that could cause wind whistles or water leaks. The adhesive creates a permanent structural bond that restores the original integrity of your Impala's door.
Step 7: Reassembly and Final Quality Inspection
While the urethane sets, we re-secure the vertical division bar, tightening the bolts to the exact factory torque specifications. We then roll the main window up and down several times to ensure it glides smoothly in the channel without binding against the newly installed vent glass. The vapor barrier is resealed with acoustic butyl tape, and the interior door panel, switches, and bezels are carefully reinstalled. Finally, we clean all the windows and conduct a rigorous final inspection to guarantee perfection.
Premium Mobile Auto Glass Services in the Greater Toronto Area (GTA)
Driving with a shattered vent glass is stressful enough; getting it fixed shouldn't be. AlexWindshield brings the auto glass shop directly to your driveway, office, or parking garage. We provide top-tier mobile auto glass services in the GTA, specifically tailored to accommodate the busy schedules of our clients across major Ontario municipalities.
Serving Vaughan
Whether you are parked near Vaughan Mills, commuting down Highway 400, or working in the bustling corporate sectors of Concord, our mobile units are fully equipped to perform your Impala vent glass replacement on-site. We understand that Vaughan drivers need reliable, fast service to get back on the road safely.
Serving Richmond Hill
From the residential neighborhoods of Oak Ridges to the busy intersections along Yonge Street and Highway 404, we proudly serve the Richmond Hill community. Our technicians arrive with all the necessary vacuums, tools, and fast-curing adhesives to ensure your Chevrolet Impala is restored securely, directly at your location.
Serving Markham
If you are located in Markham, navigating the Highway 407 corridor or running errands near Unionville, you don't need to waste an afternoon sitting in a repair shop waiting room. AlexWindshield delivers dealership-quality glass replacement right to your doorstep, ensuring your vehicle is secure and weather-tight before the next Ontario rainstorm hits.
Why Choose AlexWindshield for Your Chevrolet Impala?
Not all auto glass companies are created equal. The 2000-2005 Chevrolet Impala requires a technician who respects the engineering of early-2000s GM vehicles. By choosing AlexWindshield, you are opting for unparalleled technical expertise, rigorous safety standards, and absolute transparency. We never cut corners—from our meticulous glass vacuuming protocol to our use of premium primers and urethanes, every step is executed with masterful precision.
Book Your Impala Vent Glass Replacement Today
Don't let a broken vent glass compromise the security, comfort, and interior condition of your classic W-body sedan. Trust the certified professionals who prioritize your safety above all else. AlexWindshield is recognized as the leading expert for mobile auto glass services in the GTA, delivering flawless repairs right to your location in Vaughan, Richmond Hill, and Markham.
We stand confidently behind our craftsmanship, which is why every replacement is backed by our comprehensive Lifetime Warranty against leaks, wind noise, and manufacturer defects. Contact AlexWindshield today to schedule your 2000-2005 Chevrolet Impala vent glass replacement, and experience the ultimate standard in mobile auto glass perfection.


