Restoring the Silence: Premium Door Glass Replacement for the 2010-2016 Buick LaCrosse
The second generation Buick LaCrosse (2010-2016) was a watershed moment for General Motors, introducing a level of interior refinement and acoustic isolation known as "QuietTuning." This engineering philosophy utilized triple-sealed doors and acoustic laminated glass to shut out the noise of the outside world. However, when a side window is shattered—whether due to road debris, vandalism, or a collision—that sanctuary of silence is instantly broken. At AlexWindshield, we understand that replacing the door glass on this specific luxury sedan requires more than just sliding in a new pane; it requires a restoration of the vehicle's original acoustic integrity and mechanical precision.
As the leading mobile auto glass experts in the Greater Toronto Area (GTA), we specialize in model-specific glass replacement. This guide details our master-technician-approved process for the Buick LaCrosse, ensuring that clients in Vaughan, Richmond Hill, and Markham receive a service that goes far beyond the industry standard.
The AlexWindshield Difference: Mobile Service Across the GTA
A shattered side window leaves your vehicle vulnerable to weather, theft, and further damage. Driving a Buick LaCrosse with a broken window to a shop is not only uncomfortable but potentially dangerous. AlexWindshield eliminates this stress by bringing our fully equipped mobile glass shop directly to your driveway, office, or parking lot.
We proudly serve the entire GTA, with dedicated mobile units constantly circulating through:
- Vaughan: From Woodbridge to Maple, we provide rapid response times.
- Richmond Hill: ensuring your luxury sedan is repaired on-site without disrupting your schedule.
- Markham: covering Unionville and surrounding business districts with same-day service capabilities.
Tempered vs. Laminated: Understanding Your LaCrosse Glass
Before diving into the installation, it is crucial to understand the material. The side door glass for the 2010-2016 Buick LaCrosse is typically tempered safety glass. Unlike the windshield, which is laminated to hold together upon impact, tempered glass is heat-treated to shatter into thousands of small, pebble-like pieces known as "diced" glass. This is a safety feature designed to prevent lacerations during an accident.
However, this safety feature creates a massive cleanup challenge. These granules do not just fall on the seat; they migrate into the air vents, under the seat tracks, and, most critically, deep inside the hollow cavity of the door panel itself. If not removed correctly, these shards will rattle incessantly—completely ruining the Buick's signature quiet ride—and can eventually jam the mechanical window regulator.
Step-by-Step Technical Replacement Process
At AlexWindshield, we do not skip steps. Below is the A-to-Z procedure our technicians follow when replacing the door glass on a 2010-2016 Buick LaCrosse. This rigorous process ensures the window operates as smoothly as the day it rolled off the assembly line.
Step 1: Site Preparation and Safety Protocols
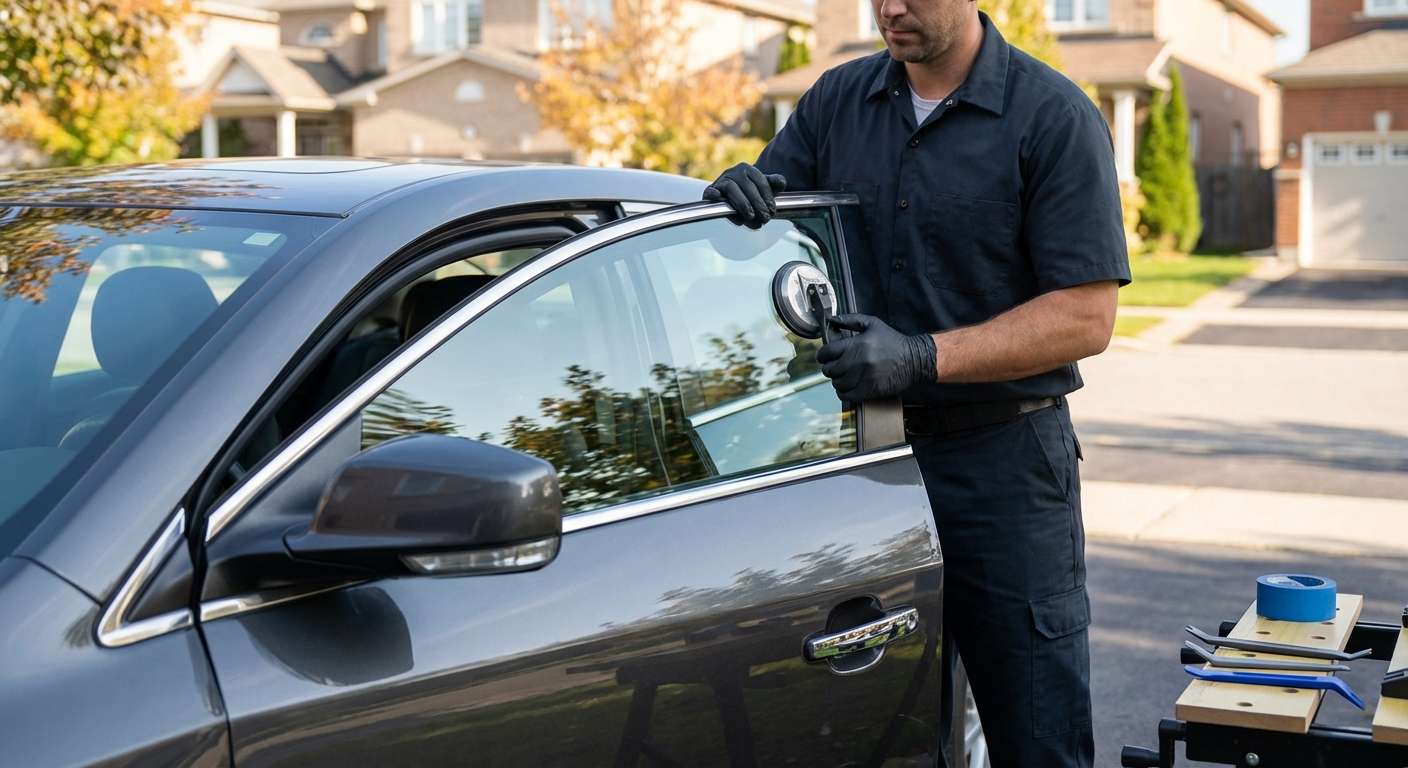
Upon arrival at your location in Vaughan, Richmond Hill, or Markham, our technician begins by securing the area. We apply protective automotive-grade masking tape to the exterior paint surrounding the window frame to prevent scratches during debris removal. Inside the cabin, we deploy heavy-duty protective covers over your leather seats, steering wheel, and center console to ensure no glass shards or tools damage the luxury interior.
Step 2: Damage Assessment and Debris Management
Before touching the door panel, we perform an initial cleanup. Using an industrial-grade vacuum, we remove the bulk of the shattered glass from the seats, floor mats, and the window sill. This prevents you from getting cut later and clears the workspace for the disassembly phase.
Step 3: Precise Door Panel Removal (Disassembly)
The 2010-2016 LaCrosse features a complex door panel design with hidden fasteners. An inexperienced technician can easily snap the plastic retention clips or damage the leather trim. Our process involves:
- Removing Trim Covers: We carefully pry out the small plastic cover behind the interior chrome door handle and the rubber mat inside the door pull pocket to reveal the hidden Torx screws.
- Unscrewing Fasteners: Using model-specific drivers, we remove the retention screws securing the panel to the metal door frame.
- Releasing the Perimeter Clips: Using a non-marring nylon pry tool, we work around the bottom and sides of the door panel to pop the friction clips without breaking the plastic mounts.
- Disconnecting Electronics: The panel is lifted slightly to access the wiring harnesses for the window switch, door locks, and courtesy lights. These are disconnected carefully to avoid damaging the pins.
- Cable Detachment: The interior door latch cable is unhooked from the handle assembly, allowing the door panel to be fully removed and set aside on a padded stand.
Step 4: Vapor Barrier Treatment and Interior Vacuuming
Behind the door panel lies the vapor barrier (or water shield). This seals the car against moisture and noise. We carefully peel this back, preserving the original butyl adhesive so it can be resealed perfectly later. Once the door cavity is exposed, the real work begins.
Crucial Step: We insert a flexible vacuum attachment deep into the bottom of the door shell. We vacuum every single shard of broken glass. We also physically reach into the door to ensure no glass is stuck in the grease of the regulator tracks. Leaving glass here is the number one cause of future regulator failure and annoying rattles.
Step 5: Window Regulator Inspection and Preparation
The window regulator is the mechanical scissor or cable system that moves the glass up and down. The impact that broke the glass can sometimes bend the regulator arms or damage the cables. We inspect the system for:
- Bent guide rails.
- Frayed steel cables.
- Damaged motor gears.
If the regulator is intact, we lower the mounting bracket to the "service position." We then clean the rubber run channels (the tracks the glass slides in) to ensure they are free of debris and old lubricants. We apply a fresh coat of high-performance silicone spray to ensure friction-free movement.
Step 6: New Glass Installation
We select only OEM-equivalent glass that matches the tint, curvature, and thickness of the original Buick specification. The installation requires finesse:
- The new glass is angled carefully and slid down into the door frame from the outside, passing through the narrow belt molding opening.
- We align the glass with the vertical run channels, ensuring it sits perfectly in the rubber grooves.
- The glass is lowered onto the regulator mounting brackets.
- For the LaCrosse, the glass is typically secured via clamps or bolts. We torque these fasteners to the manufacturer's exact specifications. Overtightening can cause stress cracks; undertightening can cause the glass to slip.
Step 7: Operational Testing and Calibration
Before reassembling the door, we reconnect the window switch temporarily to test the mechanism. We cycle the window up and down at least 10 times. We check for:
- Smooth Operation: No grinding noises or hesitation.
- Proper Seal: The glass must seal tightly against the top weatherstripping to prevent wind noise and water leaks.
- Auto-Up/Down Reset: Modern GM vehicles often require a "re-learn" procedure for the auto-up feature. We hold the switch in specific positions to recalibrate the pinch-protection sensors.
Step 8: Reassembly and Final Detail
Once the mechanics are verified, we reseal the vapor barrier. It is critical that this is airtight to maintain the Buick's "QuietTuning." The door panel is re-hung, cables are reconnected, and all screws are replaced. We finish by vacuuming the vehicle interior one last time to ensure zero glass remnants remain in the carpet or upholstery. We then clean the new glass with streak-free cleaner.
Why Fitment Matters: OEM vs. Poor Quality Aftermarket
The 2010-2016 Buick LaCrosse has tight tolerances between the glass and the B-pillar. Using cheap, low-quality aftermarket glass often results in incorrect curvature. This leads to wind whistling at highway speeds—a disaster for a car designed for silence. At AlexWindshield, we prioritize glass that meets Department of Transportation (DOT) safety standards and matches the factory specifications for thickness and acoustic properties.
Pricing, Insurance, and Value
We understand that unexpected repairs are a hassle. AlexWindshield works directly with all major insurance providers in Canada. If you have glass coverage, we handle the paperwork for you. If you are paying out of pocket, our pricing is competitive and transparent, with no hidden fees for the mobile service in Vaughan, Richmond Hill, or Markham.
Conclusion: Trust the Master Technicians
Your Buick LaCrosse is a sophisticated machine that deserves specialized care. A broken window is more than a cosmetic issue; it compromises the security, weatherproofing, and comfort of your vehicle. Don't settle for a quick fix that leaves broken glass rattling inside your door panel or wind noise whistling in your ear.
Choose AlexWindshield for a repair that restores your vehicle to its pre-accident condition. We back our craftsmanship with a comprehensive Lifetime Warranty on workmanship, covering you against leaks, rattles, and installation defects for as long as you own the vehicle.
Ready to restore the silence? Contact AlexWindshield today to book your mobile Buick LaCrosse door glass replacement in the GTA.


