Framed Door Glass and the Sportback Body Profile
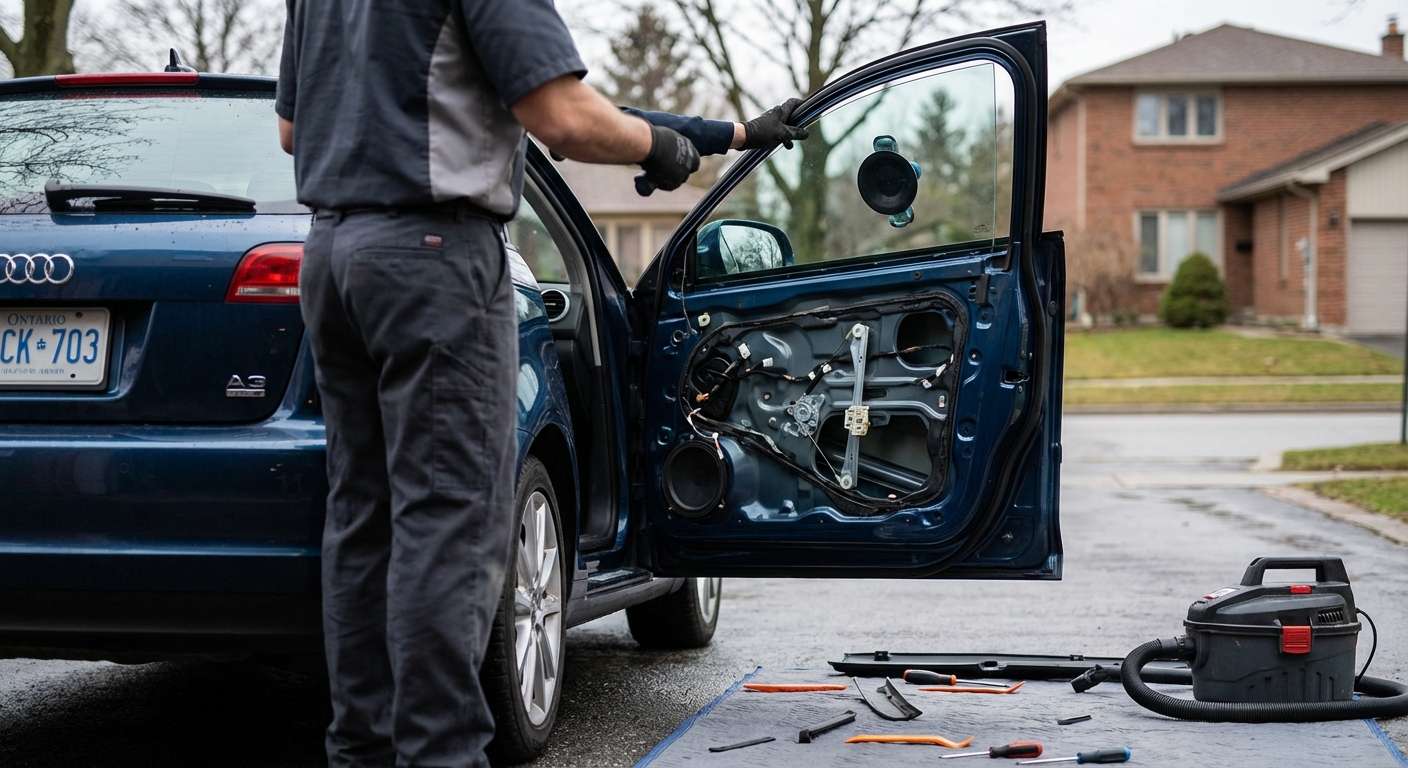
Replacing broken side glass on this car means dealing with a traditional full-frame door structure rather than the frameless setup seen on many German coupes. Every side window on the North American five-door Sportback relies on a single-pane tempered safety glass panel tinted in standard factory green solar-control. Because the front door apertures differ significantly between body styles, a pane pulled from an imported three-door hatchback will never fit your five-door model; the three-door variants use wider front glass panes matched to fundamentally longer door shells.
The glass itself is clean of antennas, rain sensors, and embedded defrost wires, but it demands precise mechanical seating into the lifting brackets. When I source replacements, I supply aftermarket glass from trusted manufacturers including PGW, FYG, Pilkington, and XYG to match the original solar-green shading and thickness. The table below lists the reference numbers identifying the specific side panes for this five-door setup:
| Glass Location | OEM Reference | Eurocode |
|---|---|---|
| Front Left Door | 8P4 845 201 B | 8580LGNS5RD |
| Front Right Door | 8P4 845 202 B | 8580RGNS5RD |
| Rear Left Door | 8P4 845 205 B | 8580LGNS5RD |
Regulator Mechanics and Guide Clip Vulnerabilities
A window dropping into the door shell on the Typ 8P is rarely caused by track misalignment alone. The front doors rely on a dual-cable window regulator system that clamps the glass using plastic slider guide clips. Over time, heat cycles make these factory clips brittle until they fracture. When one clip snaps, the pane tilts forward in the rubber run channels, binding the dual cables around the drive spool and triggering the motor's anti-pinch safety bounce-back.
On the rear doors of the 8PA Sportback, the movable door glass travels along a dedicated vertical metal division bar channel that isolates it from the stationary rear quarter vent glass. If fragments of broken tempered glass remain lodged inside this division bar or down in the bottom channel, the replacement pane will jam or chatter during travel, placing excessive strain on the lifting cable assembly.
Post-Replacement Function Checks
- Inspect the outer window waist seal and inner door card alignment to ensure the pane rises straight without pinching the perimeter weatherstripping.
- Cycle the window fully up into the upper door frame to verify the top edge seats completely within the perimeter rubber run channel without wind gaps.
- Test the power window switch to verify that the one-touch express up and down adaptation functions correctly from the driver door master console.
- Confirm that the anti-pinch reverse mechanism stops the window safely if it encounters resistance during automatic upward travel.
- Listen for smooth, silent upward movement free of grinding or scraping along the rear division bar channel.


