Expert Back Glass Replacement for the Chevrolet Suburban (2007-2014)
The 2007-2014 Chevrolet Suburban, built on the robust GMT900 platform, is a legendary workhorse renowned for its cavernous interior, heavy-duty towing capacity, and uncompromising utility. However, the expansive back glass of this massive SUV is far more than just a rearward viewing portal. It is a highly engineered structural barrier that protects valuable cargo, houses essential electrical components like the defroster grid and rear wiper assembly, and insulates the cabin from harsh external elements. When a catastrophic impact, severe temperature fluctuation, or an unfortunate break-in shatters your Suburban's back glass, it leaves your vehicle entirely vulnerable. Unlike laminated windshields that crack but stay intact, the tempered back window is designed to safely explode into thousands of granular pebbles, immediately exposing your pristine interior to the elements and security risks.
At AlexWindshield, we know that driving a family-hauler or work vehicle with a missing rear window is simply not an option. That is why our premium mobile auto glass units are continuously deployed across the Greater Toronto Area (GTA). Whether your Suburban is parked at a commercial job site in Vaughan, resting in your residential driveway in Richmond Hill, or stationed outside a shopping center in Markham, our Master Technicians bring the complete auto glass shop directly to your location. We combine unparalleled technical expertise with top-tier materials to restore your Chevrolet Suburban to its original factory condition.
Understanding the Complexity of Suburban Back Glass Damage
The rear liftgate glass on the 2007-2014 Chevrolet Suburban requires highly specialized knowledge to replace correctly. Because this glass is tempered for passenger safety, it does not crack; it completely shatters upon severe impact. This creates an immediate hazard, as sharp glass shards inevitably migrate into the deepest crevices of the Suburban's expansive cargo area, the third-row seating, and worst of all, down inside the mechanical cavity of the rear liftgate itself. Failing to extract this hidden debris can lead to severe mechanical failures in your liftgate latch, frustrating rattles while driving, and potential safety hazards for your passengers.
Furthermore, weather variations across the GTA—from freezing winters in Richmond Hill to sweltering summers in Markham—demand the use of premium-grade bonding materials that can withstand severe thermal expansion and contraction. Standard, low-grade adhesives will prematurely degrade, leading to water leaks, wind noise, and structural failure. At AlexWindshield, our strict adherence to Master Technician protocols ensures that your new back glass is installed using only the industry's finest primers and high-quality urethane adhesives.
The AlexWindshield Master Technician Process: Step-by-Step Back Glass Replacement
Our commitment to excellence is demonstrated through our meticulous, A-to-Z replacement protocol. When a Master Technician from AlexWindshield arrives at your location in Vaughan or anywhere else in the GTA, we follow a strict, multi-step process to ensure a flawless and permanent installation for your 2007-2014 Chevrolet Suburban.
Step 1: Comprehensive Vehicle Assessment and Interior Protection
Before any tools are lifted, our technicians perform a complete diagnostic assessment of the rear liftgate. We inspect the frame for any secondary impact damage and test the functionality of the rear wiper motor and defroster circuitry. Because the tempered back glass has shattered, protecting your Suburban's interior is our immediate priority. We carefully drape heavy-duty protective blankets over the exterior paintwork, the rear bumper, the third-row leather or cloth seats, and the entire cargo floor. This guarantees that your vehicle remains pristine and free from any collateral damage or urethane smudges during the replacement process.
Step 2: Thorough Glass Shard Vacuuming and Panel Removal
This is one of the most critical stages in back glass replacement. Using high-powered, industrial HEPA vacuums, we meticulously extract every visible shard of tempered glass from the cargo area and seating surfaces. Next, using non-marring auto trim tools, we carefully dismantle and remove the interior plastic liftgate trim panels. This step is absolutely mandatory. By removing the door panels, we gain direct access to the internal cavity of the liftgate door. We thoroughly vacuum all broken glass shards from inside the door shell and the latch mechanism. If this step is bypassed, residual glass will cause internal blockages, electrical shorts in the wiper motor, and a permanent, infuriating rattling noise every time you close the trunk or drive over a bump.
Step 3: Hardware Disconnection and Old Glass Removal
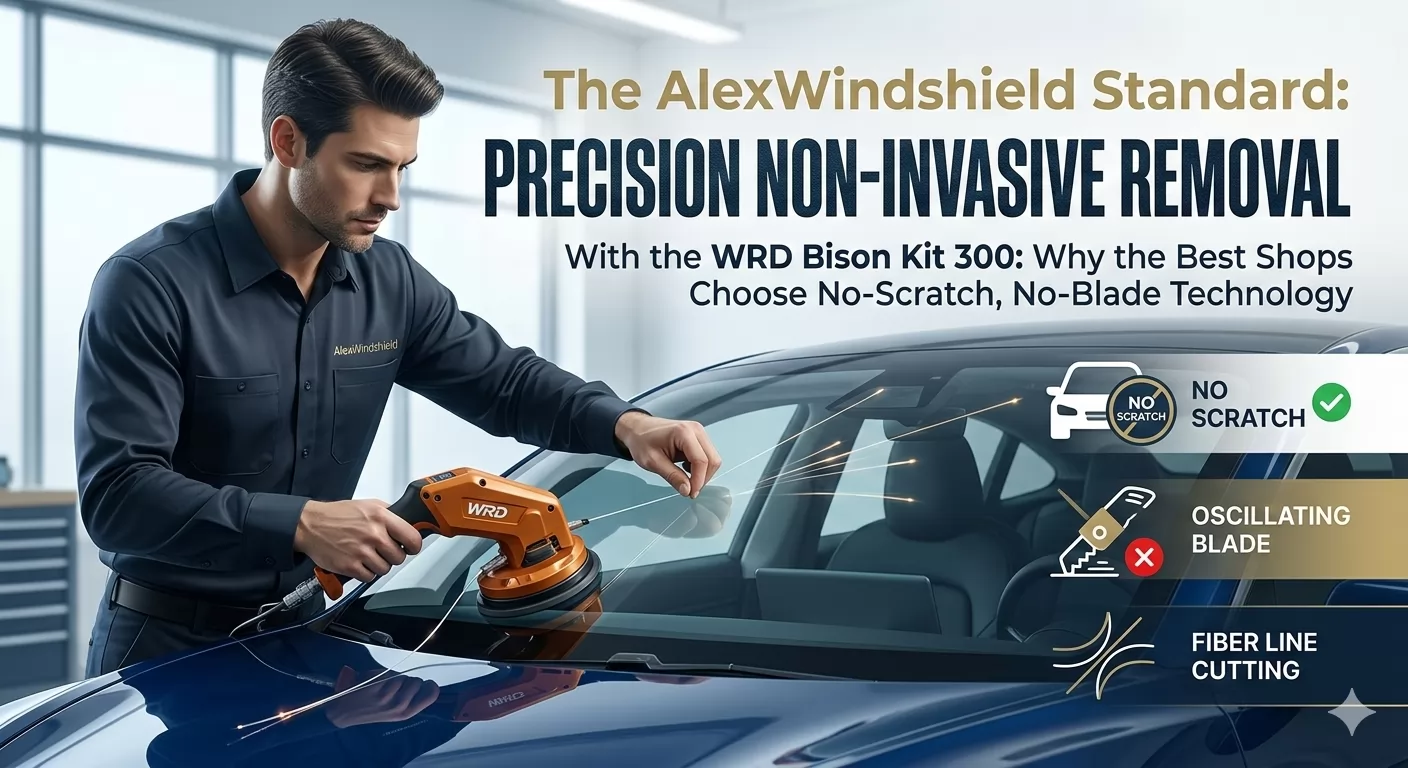
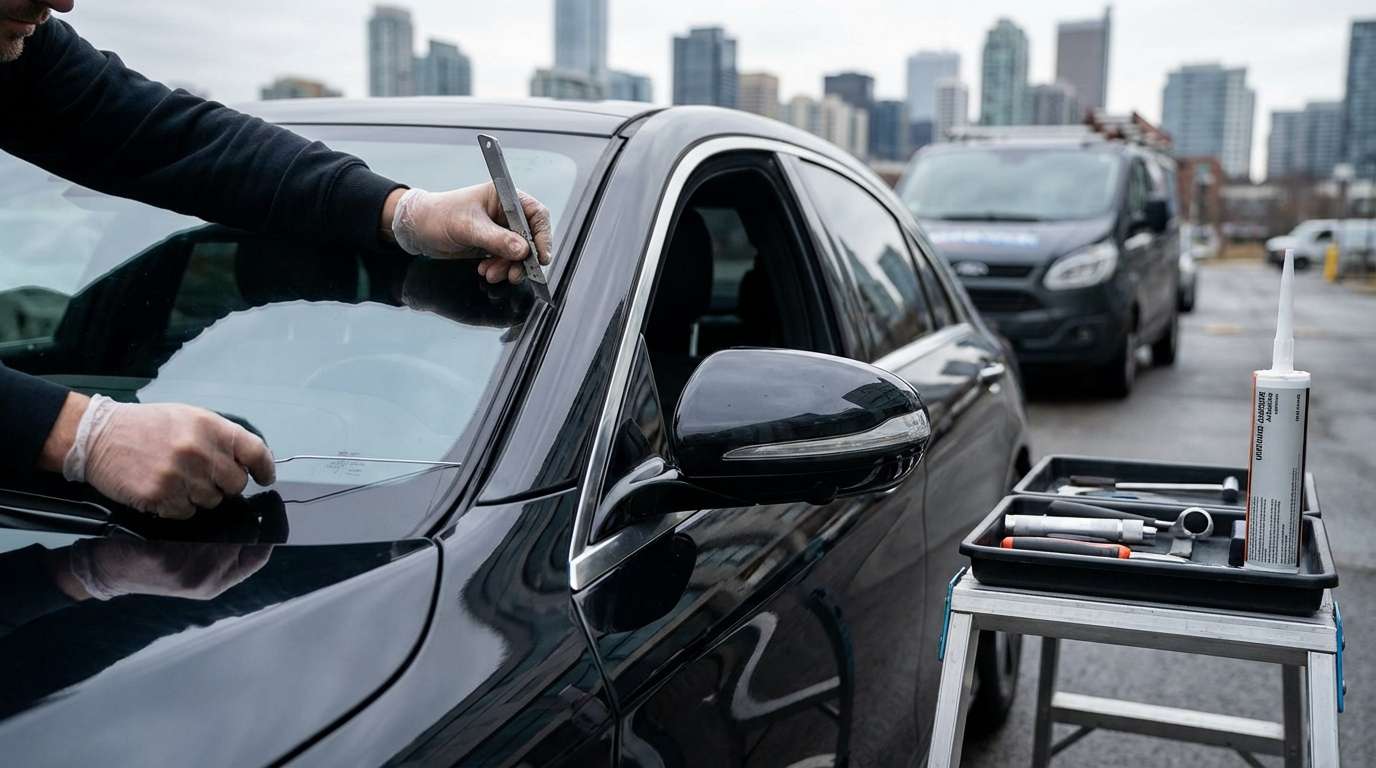
With the interior safely cleaned and dismantled, we proceed to carefully disconnect the integrated rear hardware. We unbolt and remove the rear wiper arm assembly, unplug the defroster grid terminal connectors, and safely detach any associated weatherstripping or liftgate strut mounts. Once the hardware is safely set aside, we utilize specialized auto glass cut-out tools—such as a cold knife or a sophisticated fiber-line cutting system—to slice through the original, hardened urethane bead that anchors the remaining glass perimeter to the vehicle's metal pinch weld. We remove the broken glass remnants entirely from the vehicle frame.
Step 4: Precision Surface Cleaning and Preparation
The longevity of a new back glass installation relies entirely on the quality of the surface preparation. Our technicians take a specialized scraper to carefully trim down the old urethane bead, leaving a thin, uniform 1-2mm base layer. This provides the ideal bonding foundation for the new adhesive. We then employ a high-grade, alcohol-based glass cleaner to deeply cleanse the entire bare metal pinch weld, removing all dirt, road grime, moisture, and fine glass dust. A perfectly clean surface is mandatory to prevent future water leaks and rust formation.
Step 5: Primer Application for Maximum Adhesion
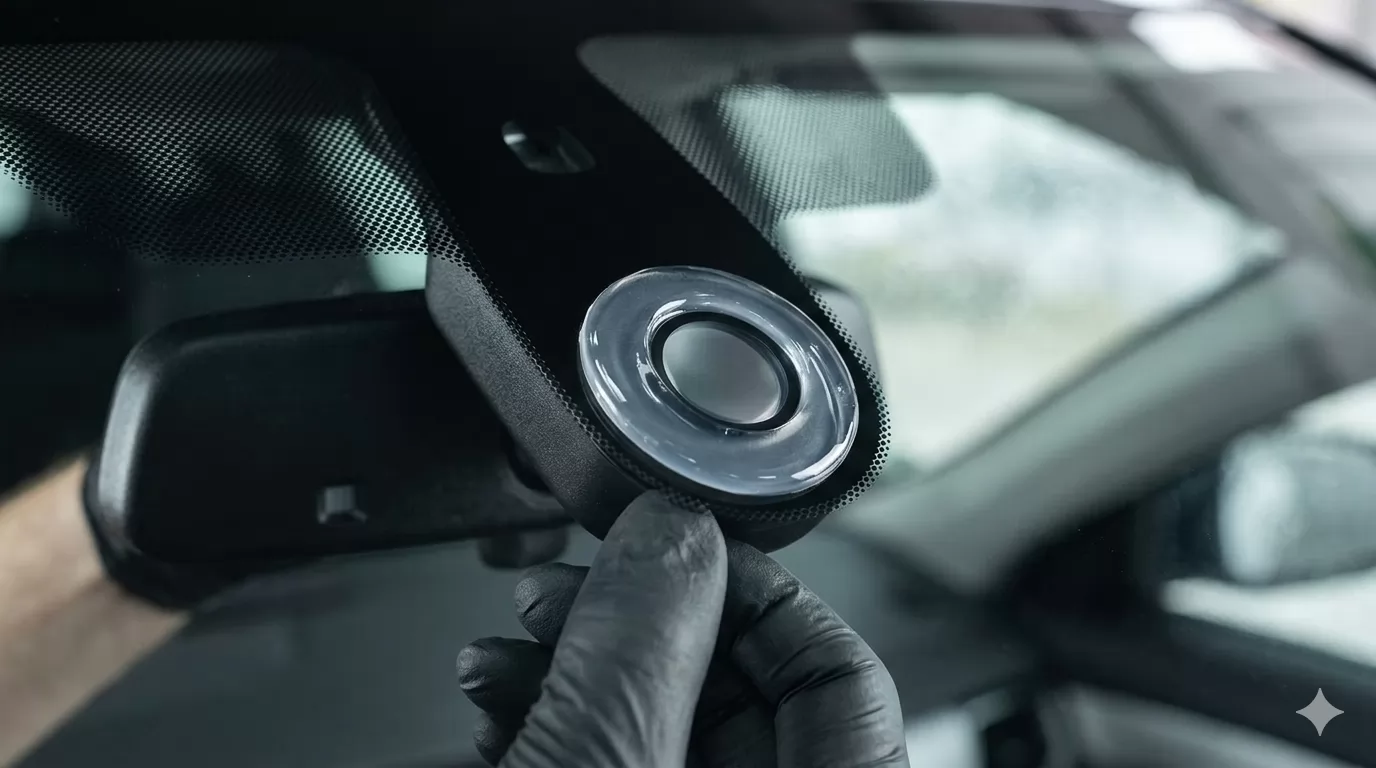
Once the pinch weld is immaculately clean and dry, we move on to the chemical preparation phase. If the cut-out process exposed any bare metal or minor scratches on the Suburban's steel frame, we actively apply a specialized, rust-inhibiting body primer. This completely seals the metal, ensuring that the harsh, salted winter roads of the Greater Toronto Area do not cause structural rust beneath your new window. Next, we prepare the replacement glass. We apply a premium glass frit primer to the black ceramic band lining the edge of the new back window. This chemical primer activates the surface, creating an aggressive molecular bond that ensures the upcoming adhesive will fuse permanently to the glass.
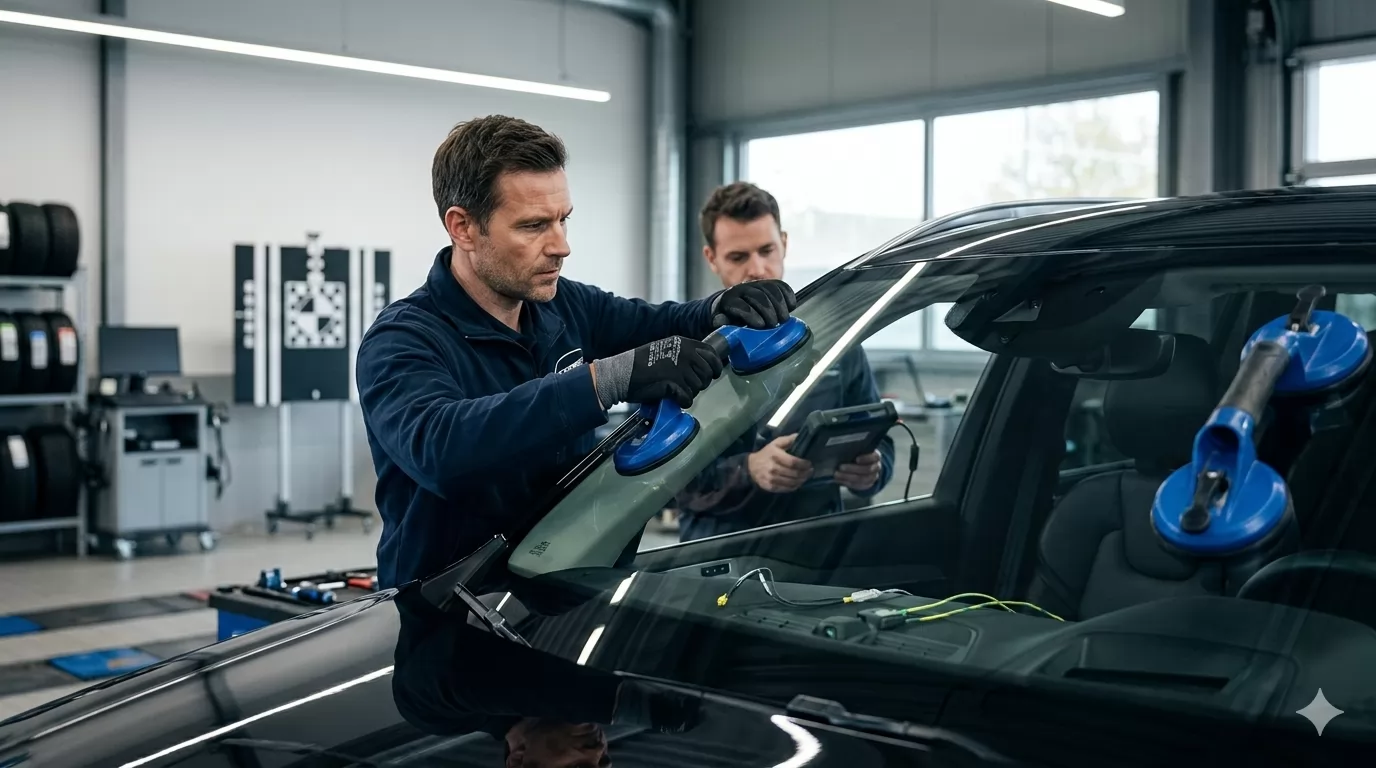
Step 6: Installation of the New Glass Using High-Quality Adhesive
With the primer flashed and cured, it is time for the installation. We utilize a state-of-the-art, high-viscosity, fast-curing automotive urethane adhesive. Using a precisely calibrated power caulking gun, our technician applies a flawless, uniform "V-bead" of this high-quality adhesive directly onto the prepared pinch weld. The V-shape of the bead is crucial, as it compresses perfectly when the glass is applied, eliminating any gaps or air pockets. The technician then carefully aligns and "decks" the new Original Equipment Equivalent (OEE) back glass into the opening. We apply specialized retention tape to hold the heavy glass securely in perfect alignment while the sophisticated chemical curing process begins.
Step 7: Reassembly, Electrical Testing, and Final Cleanup
As the high-quality adhesive cures, we begin the meticulous reassembly process. The interior liftgate door panels are securely snapped back into place. We re-install the rear wiper motor, properly torquing the wiper arm nut to factory specifications. The defroster tabs are carefully reconnected, and we use a multimeter to verify electrical continuity, ensuring your rear defroster will perform flawlessly during icy Canadian mornings. Finally, we conduct a secondary, comprehensive vacuuming of the entire vehicle interior, apply a streak-free cleaning to the new back window, and remove all protective exterior blankets.
Essential Post-Installation Care for Your Suburban
To ensure the maximum structural integrity of your newly installed back glass, AlexWindshield recommends adhering to a few simple post-installation guidelines:
- Observe the Safe Drive Away Time (SDAT): Our fast-curing, high-quality adhesive allows you to safely drive your Suburban shortly after installation, but we will inform you of the exact wait time based on current temperature and humidity.
- Leave Your Windows Slightly Rolled Down: For the first 24 hours, keep your side windows rolled down an inch. Shutting the heavy doors of a Suburban creates a massive spike in cabin air pressure, which can potentially push out the newly installed back glass before the urethane has fully hardened.
- Avoid High-Pressure Car Washes: Do not take your vehicle through a mechanical or high-pressure car wash for at least 48 to 72 hours. Hand washing with light water pressure is perfectly acceptable.
- Leave the Retention Tape Intact: Keep the exterior holding tape on the glass for a minimum of 24 hours to support the weight of the glass during the final curing phase.
Your Trusted Mobile Auto Glass Experts in the Greater Toronto Area
When the back glass of your 2007-2014 Chevrolet Suburban is compromised, do not settle for amateur repairs or the inconvenience of waiting days at a traditional repair shop. AlexWindshield is your premier destination for professional, Master Technician-level auto glass replacement. Our fully equipped mobile service vehicles are ready to be dispatched directly to your home, office, or job site across the Greater Toronto Area, providing seamless, top-tier service in Vaughan, Richmond Hill, Markham, and beyond.
We pride ourselves on doing the job right the very first time—from meticulously vacuuming dangerous glass shards out of your door panels to executing precise primer applications and utilizing the strongest high-quality adhesives on the market. We stand behind our elite craftsmanship and premium materials by backing every single installation with a comprehensive Lifetime Warranty. This warranty guarantees that your newly installed Suburban back glass will be completely free from air leaks, water leaks, and manufacturer defects for as long as you own the vehicle. Choose the experts who prioritize your safety, your vehicle's security, and your ultimate convenience. Choose AlexWindshield today for unparalleled auto glass excellence.